
Wikithrough guide for Chapter 1: Forest of Wolves of the Black Myth: Wukong.
| 1. You don't have a health bar in here so try to learn everything you may need later by using him as a dummy for training. |
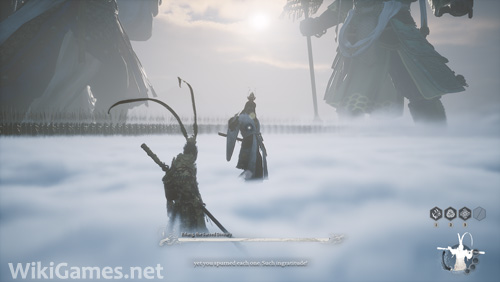 |
| 2. Reducing his health to 1/4 will trigger a cutscene and make him faster in the next phase. But don't worry you are still immortal and you can still use him as a training dummy. |
| 3. Playing as the Destined One, your first enemies are slow moving Wolves. Which helps you to train with real enemies. |
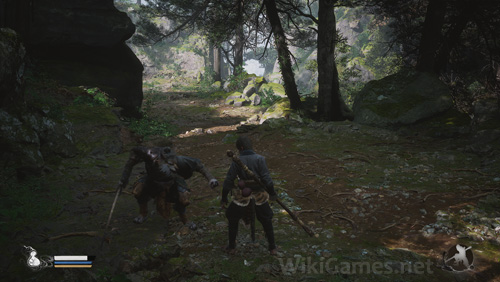 |
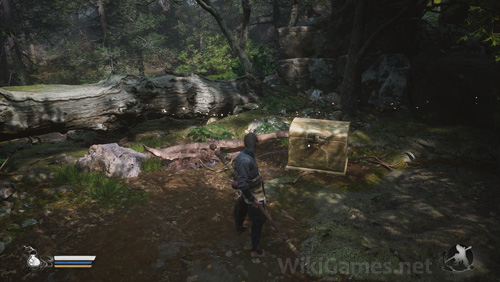
| 4. As you kill one more wolf, two stronger enemies will appear in your right and left. Next to left one is a chest that can be found on later areas too. Remember to open them whenever you see one. |
 |
| 5. Follow the golden trail to trigger a cutscene and learn about your first checkpoint. |
| 6. You can use this Shrines for three tasks: 1. Rest: Get back to full health, your enemies will also respawn. 2. Travel: Teleport to location of other Shrines. |
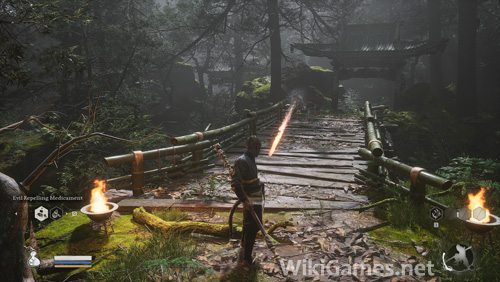
| Tip: After crossing the bridge, you will learn that now there is no invisible walls and you can go wherever you want. So check around every time you are in a new area. |
| 7. Keep going to your right to see your first Mini-Boss called Bullguard. |
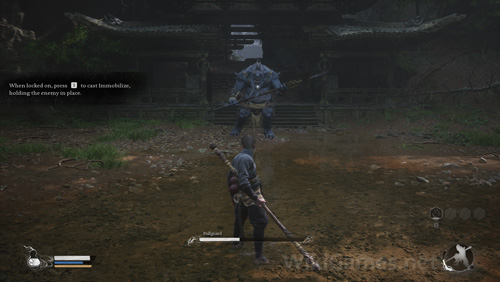 |
| 8. After hitting Bullguard for more than half of his health, a cutscene will trigger and you will earn your first spell called Immobilize. You can stun your enemies with this spell for a short time. |
| 9. Go up the stairs and keep going to your left. |
| 10. When you see a small mushroom like chair, inspect it to activate a Meditation Spot. There is a lot of this spots and they will give you Spark Skill Point. |
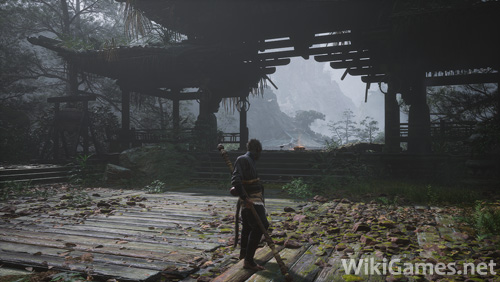 |
| Spark Skill Point: Used to unlock or upgrade abilities and spells from the Self-Advance menu and Skill Tree. |
| 11. Looking behind you, you can see the golden trail again going inside a cave. |
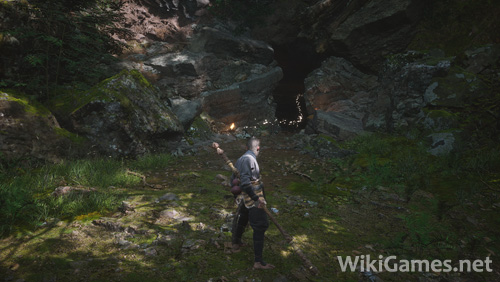 |
| 12. The Shrine golden trail has led you to will have one more option called Store. |
| Store: Is a option to sell and buy items. |
| 13. Go to your left until you are on a bridge. In here the game will teach you a way of deflecting incoming range attacks. |
 |
| 14. Keep going forward to face your next mini-boss called Guangzhi. |
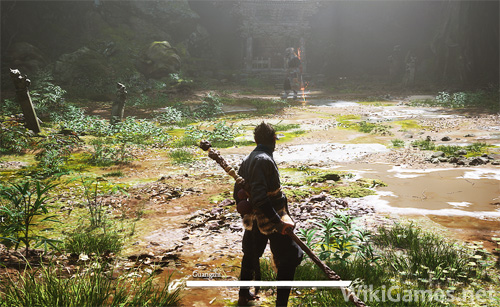 |
| 15. Guangzhi is harder boss than the last one but it's mostly about dodging his attacks and attacking him when he gets tired and stops for short time between his attacks. |
| 16. After defeating him, pick up his blade to learn a transformation spell called Red Tides. |
| Red Tides: Transforms you to Guangzhi, the boss you just defeated. |
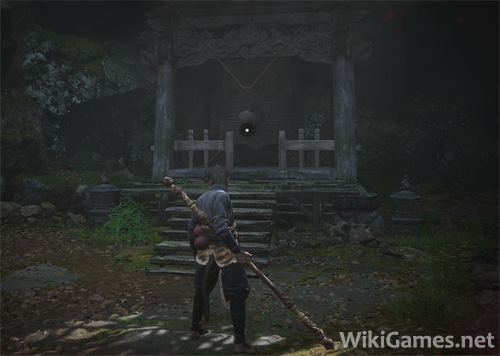
| 17. Inspect the large bell. Ringing three of this bells in the Chapter 1 will uncover a major secret. |
 |
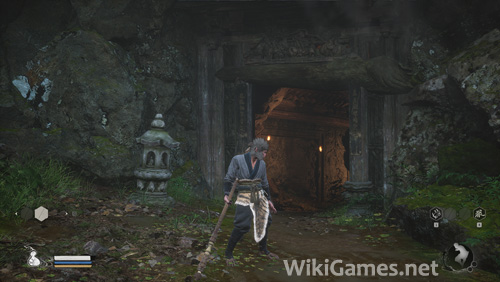
| 18. Get back out of the boss fight area and keep going to your left to a cave entrance behind the optional blue boss with big head. |
 |
| 19. Keep going forward until you get to the Guanyin Temple. |
| 20. Check out the Shrine for a new option. |
| Craft Armor: With this option you can craft new items to equip and increase your health and damage. |
| 21. Check around and go up the stairs when you are ready. |
Boss Fight: Lingxuzi |
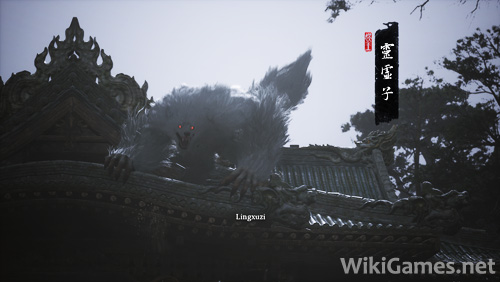 |
| 22. Lingxuzi is very slow boss fight compared to mini-boss Guangzhi, which means easier dodges for you. |
| 23. In every charge he will attack you twice, so dodge two times then attack him. |
| 24. If you are failing the fight a lot you can buy Evil Repelling Medicament from the Shrine. It will reduce the damage you take from him. |
| 25. After defeating him, go up the stairs and look at your left for your reward. |
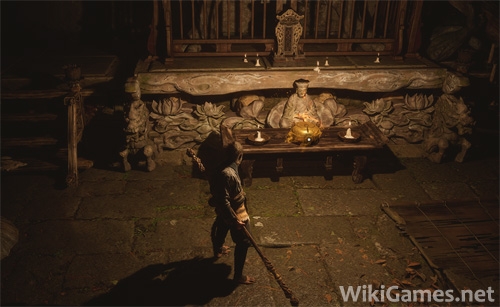 |
| 26. Inspecting your reward will increase your maximum health. |
| 27. Follow the golden trail to your next Shrine. |