
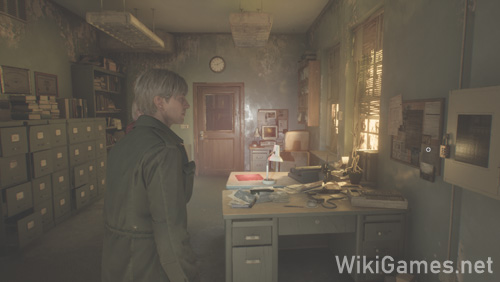
Wikithrough guide for Brookhaven Hospital area of the Silent Hill 2 Remake.
| 1. Right in front of you and under the board, you can get the hospital's map. |
| 2. Check your map, on your left, go to Reception and then into Reception Office. |
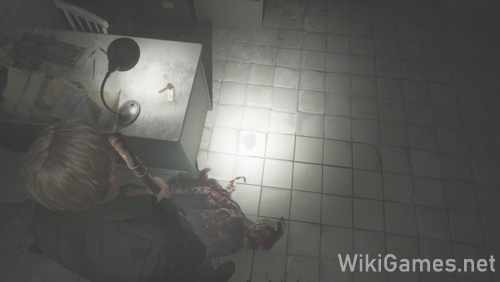
| 3. Check the locked box on the wall and use this code to open it: Light: 287 Standard: 724 Hard: 152 |
 |
| 4. From where you entered the hospital, go right, then go down the stairs to the Basement. |
| 5. Take the Basement map in front of you then go right. |
| 6. You need fuel for the generator. |
| 7. Check your map and go to Boiling Room. |
| 8. There is two monsters in the Boiling Room. After dealing with them, you can find the Empty Fuel Can in end of the room. |
| 9. Go to Laundry Storage. |
| 10. There is a cart in middle of the room, push it to the Laundry Room to have access to the window. Be careful a Mannequin will attack you. |
| 11. Climb up and go to Storage room. |
| 12. Use the tank in your right to fill your Empty Fuel Can. |
| 13. Return to Generator Room but be careful with the monsters in your way. |
| 14. Fill the fuel tank of generator and turn it on. |
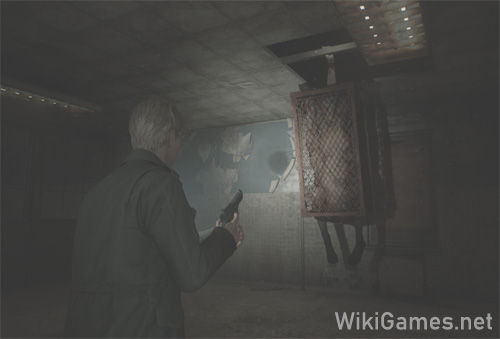
| 15. Go to the Elevator with the question mark in your map and choose number 2. |
| 16. Opening the door in front of the C5, will face you to your new monster called Bubble Head Nurse. |
| 17. You will be here a lot so kill the Bubble Head Nurse and then go to the Nurses Station using this code: Light: 3578 Standard: 3578 Hard: 7456 |
| 18. Go to Nurses Lounge and take the key on the table. |
| 19. Go to Women's Locker Room and take the Bent Needle from the bear and a Shotgun from the locker. |
| 20. Go to Room L1 and open it's locked door using the key you got from Nurses Lounge. |
| 21. Push the cart in your right to your left and climb up the small window. |
| 22. Jump over the wall and go to Utility Rom. |
| 23. Go into the hole under your feet. Then another hole in your right. |
| 24. Take the Marked Bracelet on the ground in your right. A Mannequin will attack you, deal with and go out the door. |
| 25. Check your map for elevator (E) location and go to the second floor 2f. |
| 26. Go up the stairs using the stairwell behind the Nurses' Station. |
| 27. Enter the Exam Room 5 using it's window. (Break the window and jump inside.) |
| 28. Right in front of you, take the 1F Inner Ward Key from the table. |
 |
| 29. Go back to the first floor 1F. |
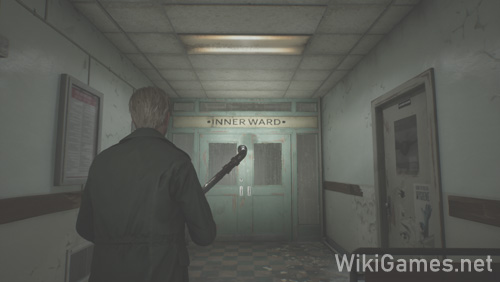
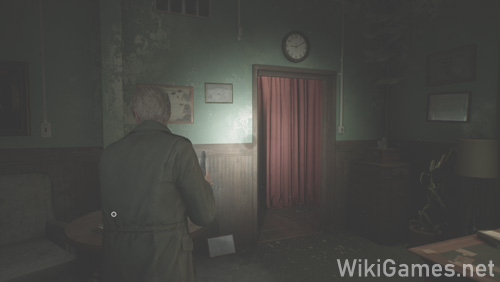
| 30. Find the big Inner Ward door right in front of hospital's main entrance door and open it using your 1F Inner Ward Key. |
 |
| 31. Enter the Dayroom in front of you. Then go to Pharmacy through the broken wall on your left. |
| 32. Jump out of window to the Garden. |
| 33. Go inside the Greenhouse and jump t the Pol through the window. |
| 34. Go to the Shower Room and pick up the coiled medical tube from the sink. |
| 35. Combine the medical tube with the bent needle and then go back to the Pharmacy. |
| 36. Use the medical tube with bent needle attached on the drain in the Pharmacy's floor to fish up the Maintenance Key. |
 |
| 37. Go back to the Pool and empty the water using the Maintenance Key on the hatch. |
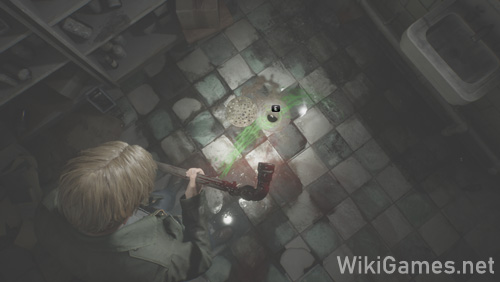
| 38. Go inside the pool and break the wall where a Eye on it. Pick up the Bloodstained Bracelet from it. |
| 39. Go up to the third floor 3F. (Use the Elevator (E) to go to the second floor 2F then use the stairwell behind the Nurses' Lounge to go to the third floor 3F.) |
| 40. Go to room 1D, open it using this code: Right 4, Left 37, Right 12 and pick up the Filthy Bracelet from the bed. |
| 41. Now that you have all the Bracelets, go back to the second floor 2F and go inside the Director's Office. |
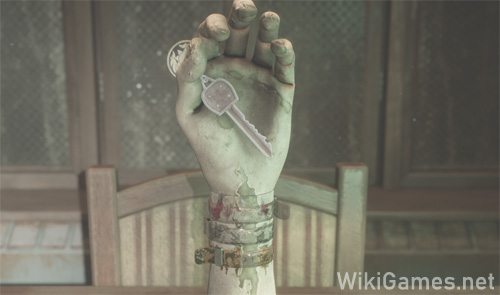
| 42. There is a hand on the table in front of you. |
| 43. Put the Bracelets on the hand and spin them to get this numbers from top to down: Top: Bloodstained Bracelet = 92 Middle: Marked Bracelet = 45 Down: Filthy Bracelet = 71 |
 |
| 49. Take the key and open the door in the small room behind you. |
| 50. Pick up the Safe Button on top of the book. |
| 51. Looking back there is a bookshelf behind you with a little lion puzzle that if you fix it, it will tell you correct order of the next puzzle. |
 |
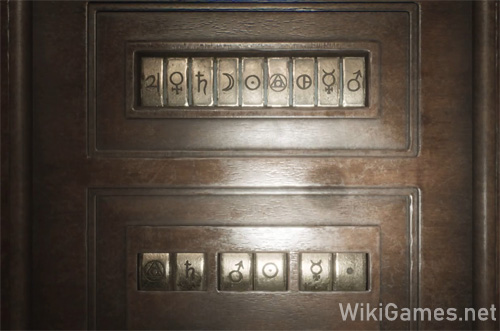
| 52. Now go back to Director's Office and lookfor a red curtain. |
 |
| 53. Put the Safe Button on it's place and solve the puzzle based on the Lion Puzzle you fixed and number on the Bracelets. |
| 54. Use the symbols for 9 2 4 5 7 1 on the Lion to solve the puzzle. |
 |
| 55. With the Rooftop Key, now go back to the third floor 3F and use the key to open the door to the rooftop. |
| 56. Go inside the room on other side of the rooftop and check a note on the ground. |
| 57. Get back to the roof to get a cutscene. |
| 58. Go to the Hydrotherapy Room in your left and take every ammo and heal drinks you find. |
| 59. Going through the "Exit" door next to I3 and before the I4 will trigger a cutscene. |
Boss Fight: Flesh Lip |
 |
| 60. At first Flesh Lip will disappear and go into the ceiling. You can see where he's at by looking at the shaking tiles in the ceiling. |
| 61. Whenever he hangs from ceiling to catch you, go back and shoot his hand. He will drop on the ground. Shoot his hands few more times if possible. |
| 62. After dropping him for few times, he will walk on the ground. If you are low on the ammo check around you there is always few on the windows. |
| 63. Dodging him on the ground is super easy, just keep dodging whenever he's close to you and shoot him when he's in your range. |
 |